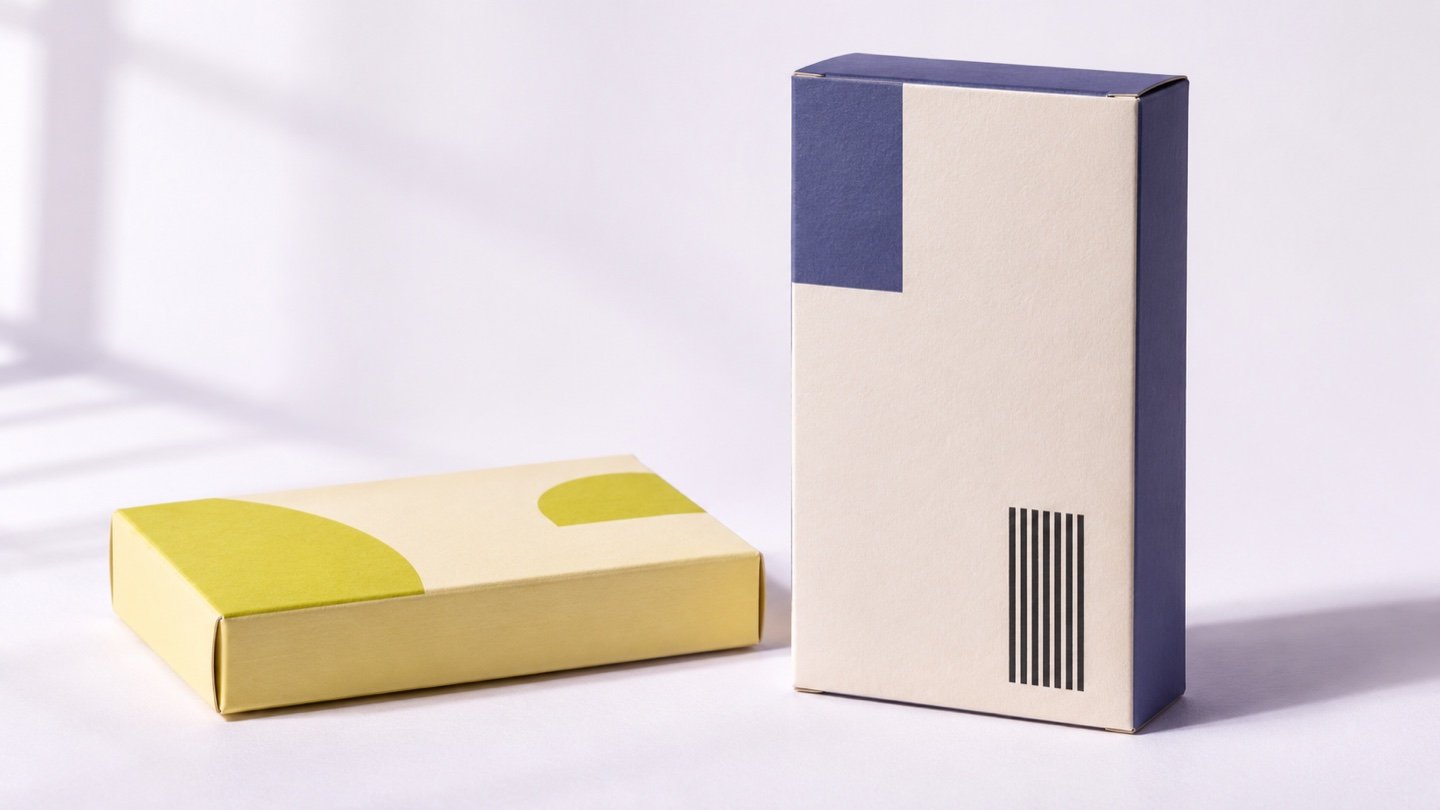
A barcode can look perfect on a flat PDF and end up half hidden by a tuck flap once the box is closed. Decide where the barcode will sit on the assembled pack before the artwork is finalized. For many retail cartons, the lower right of the back panel is a good starting point. Keep the entire symbol, including the clear space on both sides, on one smooth panel. Then check the printed, assembled sample.
This guide covers UPC-A and EAN-13 on consumer retail boxes. If the box also has a hang tab, window or sleeve, apply the same checks with all the parts in their final positions. Start with the folding carton dieline checklist if you have not yet mapped the cut, crease and glue areas.
Before you start
Have the brand-approved GTIN and barcode file, the retailer’s packaging requirements, the current dieline, and either an assembled sample or a physical mock-up. Ask the retailer where the pack will be scanned: at checkout, in a warehouse, or both. That answer determines which measurements and verification requirements you should use.
1. Identify what will be scanned
A GTIN identifies the trade item; a barcode is the symbol that carries it. Confirm the number belongs to the exact product and pack configuration before anyone imports the artwork. Do not assume two similar flavors, sizes or bundle counts share the same approved number. For new items, consult the GS1 GTIN Management Standard and your brand’s product-data owner.
| Packaging level | What to confirm |
|---|---|
| Retail unit | A UPC-A or EAN-13 may be specified for checkout. Confirm the retailer-approved symbol and GTIN for the item actually sold. |
| Retail multipack | Confirm the sellable bundle’s GTIN. Assemble the pack and check that different inner-unit barcodes cannot be read at checkout through the window, wrap or sleeve. |
| Shipping case | Separate it from the checkout artwork. A case not scanned at checkout may use ITF-14 or another symbol such as GS1-128, depending on the application and trading partner. |
Check the symbol against GS1 US barcode types and the applicable sections of the GS1 General Specifications. In a spreadsheet or RFQ, keep separate rows for the consumer unit and the case. Record the approved number and file revision for each so the retail barcode is not copied to the outer case by mistake.
2. Find one usable panel on the assembled carton
GS1 US placement guidance generally favors the lower right of the back for items scanned at checkout. It is a starting point, not permission to place the symbol over a seam. Give priority to the retailer’s requirements and the unobstructed space on the formed pack. On a short panel, move other artwork or choose another suitable panel with the retailer before trying to shrink the barcode.
The symbol and its clear margins stay on the same panel, away from the window, fold and glue area.
The fold crosses the barcode area, the glue edge crowds it and the side margins are too narrow.
Check the panel with the product inside and the carton closed. Look for bowed panels, wraparound artwork, price-label zones and sleeves that can move. On retail hang tab boxes, confirm that the hanging slot, hook or ticket does not obscure the symbol. With printed folding cartons, check where the side seam lands after gluing rather than where it appears on the flat artboard.
3. Reserve the full barcode area before designing the panel
Place the approved symbol at its intended print size, not at a size picked by dragging the artwork’s handles. Include the bars, the readable digits and the clear margins, called quiet zones. Keep side margins free of artwork, spot decoration and cutouts. Removing bar height to squeeze the symbol into a narrow strip is truncation. Changing only the width can also distort the symbol. If space is tight, ask the barcode artwork owner to regenerate the symbol for the correct size and application.
Worked example: UPC-A quiet zones
GS1 US UPC-A guidance gives a minimum quiet zone of 9 times the X-dimension on each side. X is the width of a narrow module. If your approved UPC-A artwork uses X = 0.33 mm, reserve 9 × 0.33 = 2.97 mm per side, or 5.94 mm across both side margins combined. This is a worked UPC-A example, not an EAN-13 size rule or a substitute for checking the approved artwork’s full dimensions. If the artwork file already includes its quiet zones, preserve them rather than assuming they are disposable padding.
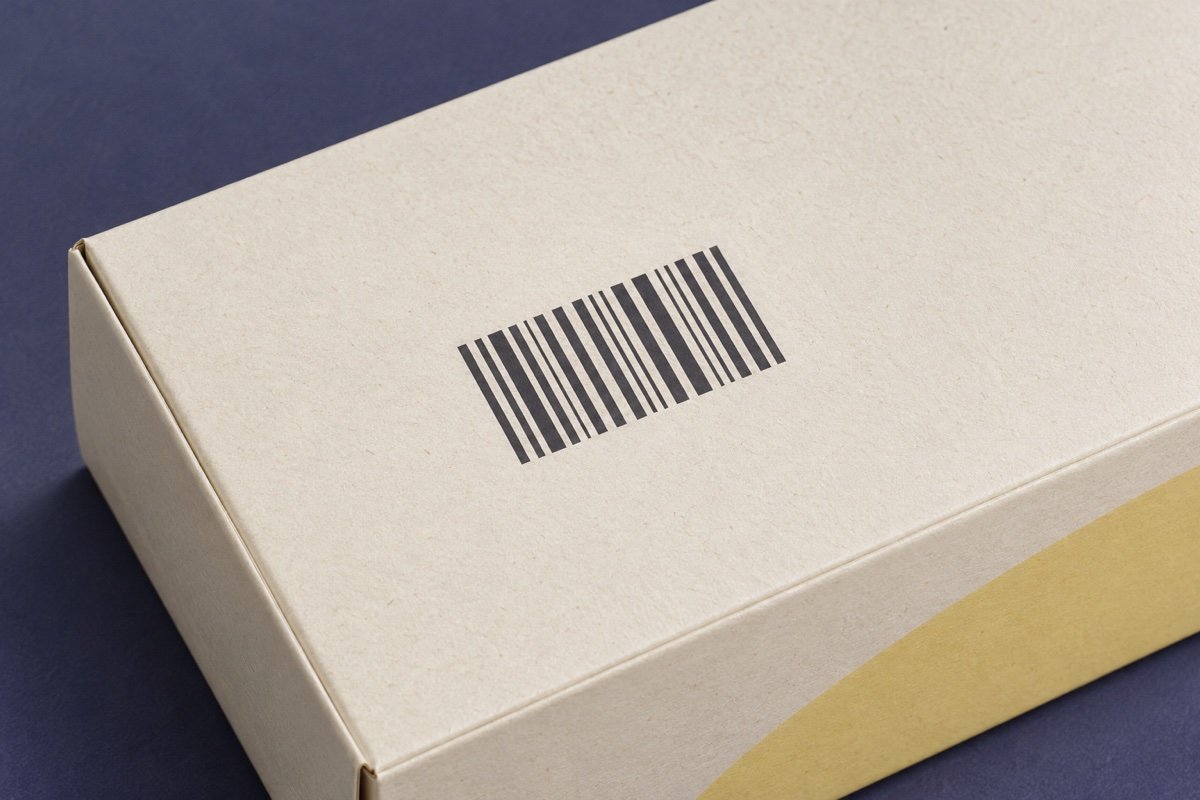
Start with dark bars on a solid, light background. Approve the contrast on the actual board and finish. What looks light on a monitor may look different on kraft, tinted stock or a transparent label. Keep foil, texture and variable backgrounds clear of the reserved area unless the final construction is tested. See GS1 Australia’s printing guidance for substrate and print considerations. If evaluating transparent barcode labels, review the color under the label on the finished product rather than approving the film alone.
4. Separate the PDF review, trial scan and formal verification
Review the proof at actual size. Compare the visible digits and encoded data with the approved number. Check the artwork scale, clearance from creases and the available quiet zones. A proof can show whether a symbol fits. It cannot tell you how the ink and finish will behave on the production board.
Try a scan on the formed sample. With the item packed as sold, check that a suitable reader returns the expected number and does not pick up an inner-unit barcode. A phone scan can be a quick check, but a successful read with one device does not measure print quality or prove the symbol will work on a retailer’s equipment.
Arrange verification when required. Agree on the applicable specification, report type and acceptance criteria with your trading partner. Submit a final printed, formed sample according to the verification provider’s instructions. GS1 Australia’s testing checklist explains which checks can be done from artwork and which require a final sample; GS1 Canada’s barcode verification service is another reference for submission. If stock, ink, print method or finish changes after approval, ask whether verification should be repeated. For a production run, agree which samples to check and what happens if the result falls below the buyer’s requirement.
Copy this into your packaging approval sheet
- Product: SKU, packaging level, retailer and intended scan point.
- Identity: approved GTIN, symbol type, file name and revision.
- Print: finished symbol size, quiet zones, panel, orientation, stock, ink and finish.
- Assembly: photo of the complete packed box showing no overlap, crease, window or label over the symbol.
- Readback: the decoded value and equipment used for the trial scan; mark it as a trial, not as a grade.
- Release: agreed method and acceptance criteria, verifier report and sample ID if required, production sampling plan and approver.
Give the approved barcode file and the complete pack photo the same revision reference as your artwork. Use the repeat-order specification sheet to preserve that link between the drawing, chosen finish and signed-off sample.
Frequently asked questions
Can the barcode go on the bottom of a box?
GS1’s general guidance accepts bottom marking in some cases, but prefers the back or side for many packages. Confirm the retailer allows it and that the area remains flat and visible when the carton is filled and closed. Do not place it across bottom flap seams.
Can I use a QR code instead of UPC or EAN?
Do not substitute a marketing QR code for the retailer’s checkout symbol. Confirm which GS1 2D format and data the retailer can process, and whether both symbols are required. See the GS1 2D retail implementation guideline.
Can I put a barcode sticker over the printed code?
Ask the trading partner before using a correction label. It needs to hide the old code and leave the replacement’s quiet zones intact. Check the finished box for show-through and retest the correction on the actual stock.
Does a barcode have to be black and white?
Black bars on a white background are a reliable starting choice. Alternatives must provide suitable contrast for the intended scanning environment. Check your approved color combination on the actual printed substrate, especially on dark or transparent materials.
What if the printed barcode looks clear but scans the wrong number?
Hold the proof or affected packaging. Compare the decoded value against the brand-approved GTIN, then compare the print file with the SKU list. A legible symbol can still encode the wrong item; changing ink or position will not fix that.
Putting a barcode on a custom retail box?
Send YiHongBox your carton dimensions, dieline or artwork, and any retailer placement requirements. We can discuss the available panel, cardstock and print finish, and what to confirm on a physical sample. Standard MOQ is 1,000 boxes. Design support is free; physical samples are charged. Include the destination postal code for a DDP quote to the US, Canada or Australia.